How to Look Great on Zoom

Due to COVID-19 we are all working from home this year, and, in the future, we will probably rely more and more on video calls to be safe and healthy. I’ve seen many articles with quick ways to improve your video quality: mount a tiny selfie light, connect a tiny external webcam, etc. This is like slapping a spoiler on your trunk and expecting to drive faster.
Recently I began exploring how to construct a setup similar to what executives use at home. The goal is to achieve a crisp image with an elegant bokeh effect behind my head. To achieve this you need a real camera, and a substantial light source if your room does not smother you with daylight.
Below is the list of products I used to build my setup. Do not fret upon looking at it. The goal for this post is for you to understand why each item is necessary.
- Digital camera
- Wide angle lens
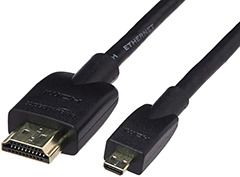
- Micro HDMI to HDMI cable
- Camera AC power adapter
- Neewer Metal 360 Degree Rotating Panoramic Ball Head
- CAMVATE Upgraded 11″ Magic Articulating Arm
- CAMVATE Super Clamp
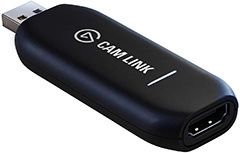
- Elgato Cam Link 4K
- Elgato Key Light Air
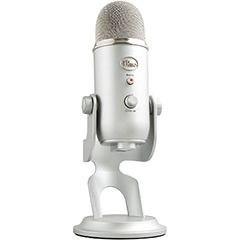
- Optional: Blue Yeti Microphone
Put it all together and you can look like me (stunning).
Camera
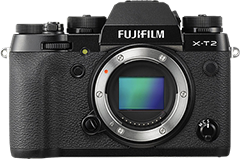
First, you need a digital camera and a wide angle lens to capture that gorgeous punim. I’m not going into detail about which camera to purchase because buying a camera is such a holy decision. Canon, Sony, Nikon, Fujifilm… there are many options and it’s something one should carefully consider. I’ve read a few articles that recommend the affordable Sony Alpha a6000, but hopefully you have a camera already so we can skip this part.
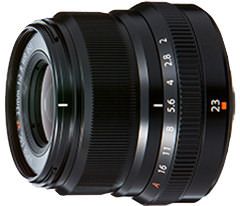
I use the Fujifilm X-T2 (latest model is the X-T4) with a 23mm lens (35mm equivalent with crop factor). You want a somewhat wide angle lens to ensure that the camera captures more than just your eyes and mouth. A wider lens will capture your surroundings similar to your computer’s built-in camera.
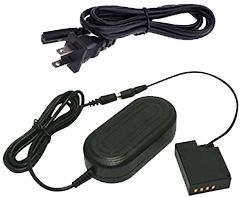
To avoid charging and swapping batteries every day, many cameras can use a trick battery that connects to a power outlet. One side looks like a battery, and the other side plugs in to the wall.
Double check your camera manufacturer’s website to see if your model can output video over an HDMI connection. Otherwise it may be time to purchase a new camera (again, not getting involved, but I’m very excited for you if that’s the case).
Take a breath. This is where things get mechanical.
Mount
You’re holding your camera now and thinking, “Dave, how can I get this thing to sit still and point at me?” My goal when I began this project was to mount my camera above and behind my LG UltraFine 5K display. Sure, you can use a tripod and place your camera next to your monitor. The problem is your teammates will see the side of your face instead of looking your eyes.
There are 3 components to this setup: a clamp, an articulating arm, and a ball head. The clamp grabs on to your big monitor, the articulating arm allows you to raise and lower the camera, and the ball head can help you angle your camera so it’s pointing precisely where you want.
Fortunately, you can mix and match products from various companies because the method for connecting cameras to accessories is standardized. I went with a combination of Neewer and Camvate.
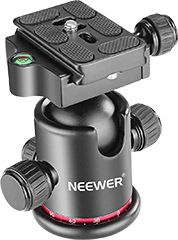
Neewer Metal 360 Degree Rotating Panoramic Ball Head with 1/4” Quick Shoe Plate
Load Capacity: 17.6 pounds
Amazon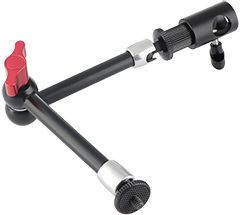

It’s important to put this little metal concoction together before worrying about your camera or display. Connect the ball head to the articulating arm. I’m aware that I awkwardly put this together.
Connect the arm to the clamp. Again, I am not smooth with this.
Twist all the levers to get an understanding of what they adjust. Loosening the arm’s lever allows the arm to expand and contract. Loosening the ball head’s lever allows you to spin the ball where the camera will eventually attach. Am I a hand model now?
Once all 3 pieces are screwed together, attach the clamp to the back of your display. Make sure it’s tight to ensure it doesn’t lean over when your camera is attached. Next, we’ll connect your camera to your computer.
Connect
The Fujifilm X-T2, like many other digital cameras, has a micro HDMI port. Use the micro HDMI to HDMI cable to connect your camera to the Elgato Cam Link 4K. Then, connect the Elgato Cam Link 4K to your computer. I’m using a 2015 MacBook Pro which has USB-A ports. If you have a newer MacBook you will need a USB-C to USB-A adapter to connect the Cam Link to your computer.
Illuminate
Light is what truly sets you apart from your coworkers. Even with great daylight, a strong, standalone light close to your face is crucial to improve video quality. Due to a desire to somewhat control the budget of this project, I went with the Elgato Key Light Air over the larger and brighter Key Light.
The one significant downside to the Key Light Air is its stand. Your desk must be larger enough to fit the light. The more expensive Key Light uses a clamp to connect to the back of your desk which is more convenient.
The Key Light Air also has a great little menu bar app for turning on and off, controlling brightness, and controlling temperature (a warm yellow glow vs. a cool blue glow).
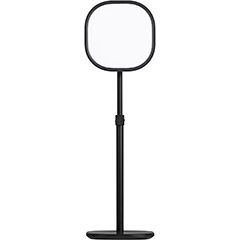
When setting up your light, you want it to face you at a 45 degree angle and a bit higher than your head for a cinematic look. To accomplish this place the light at the corner of your desk or next to your monitor. To go deep on lightning I recommend watching a thorough YouTube video: Cinematic Lighting Techniques.
The Key Light Air requires AC power. There is no USB power option.
Software
Surprisingly, configuring all of this only requires a couple clicks. There are two applications needed from Elgato’s website:
- Elgato Control Center. This app sits in your menu bar and allows you to control the light.
- Elgato Game Center HD. There’s one setting I recommend changing and then you can forget about this app.
Elgato Control Center
You’ll need to experiment with the Cam Link Air’s brightness and temperature settings to see what works in your environment. The example below demonstrates the light leaning a bit towards the cool side and full brightness.
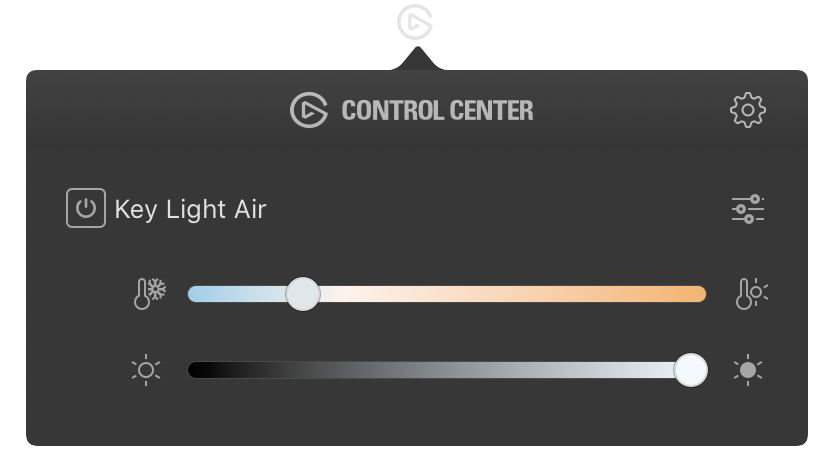
Moments before I join a meeting I click the power icon next to the words “Key Light Air.” When the meeting ends I turn the light off since it’s a bit distracting while trying to think.
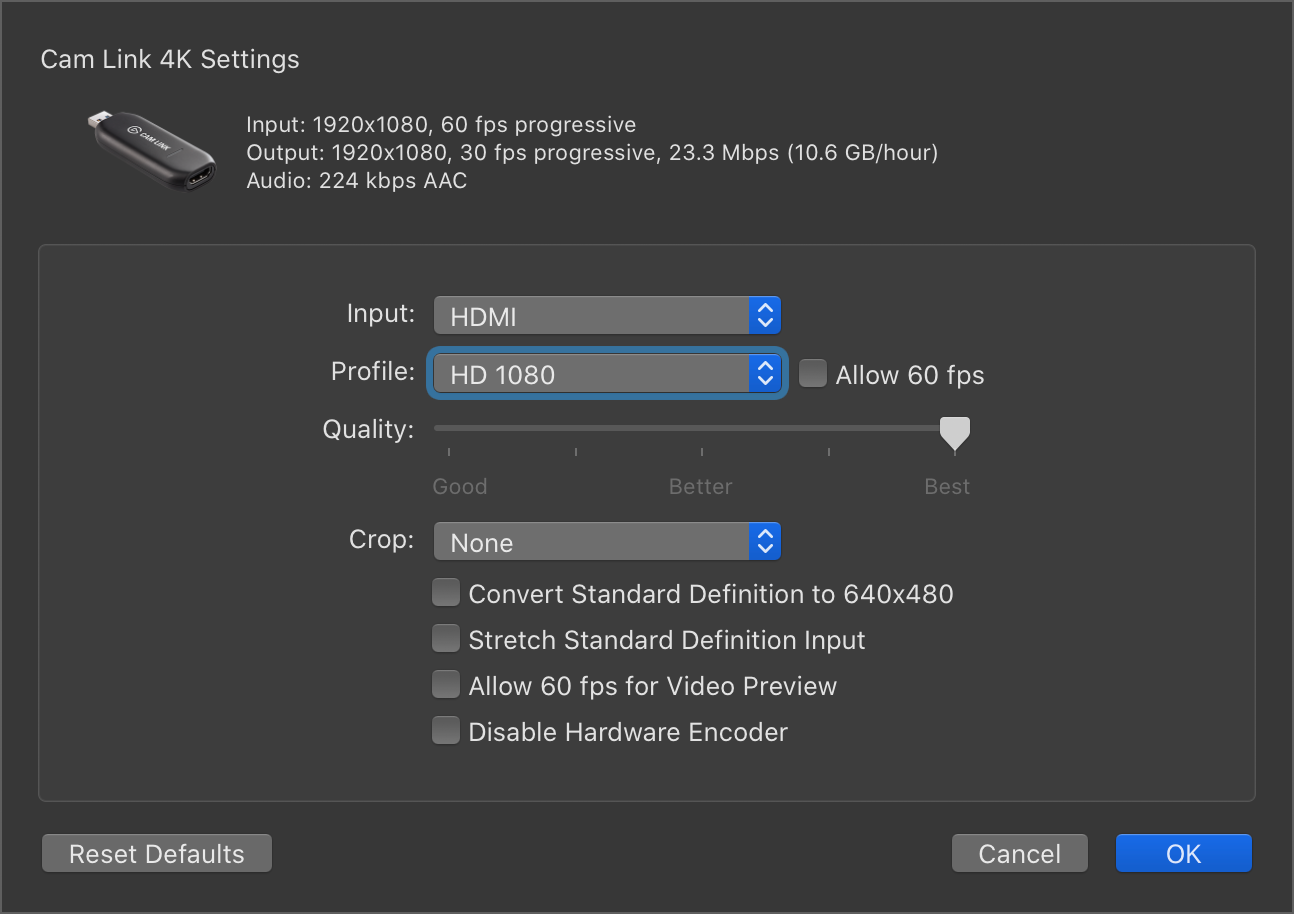
Elgato Game Capture HD
Game Center provides access to a few settings for the Cam Link. First, ensure the Cam Link is connected to your computer and then launch the app. Click on the small hammer/wrench icon in the Device area.

In the resulting popup menu, change the Profile dropdown from HD 720 to HD 1080. Click OK. You’re done. Quit Game Center. Forget it exists.
Google Meet
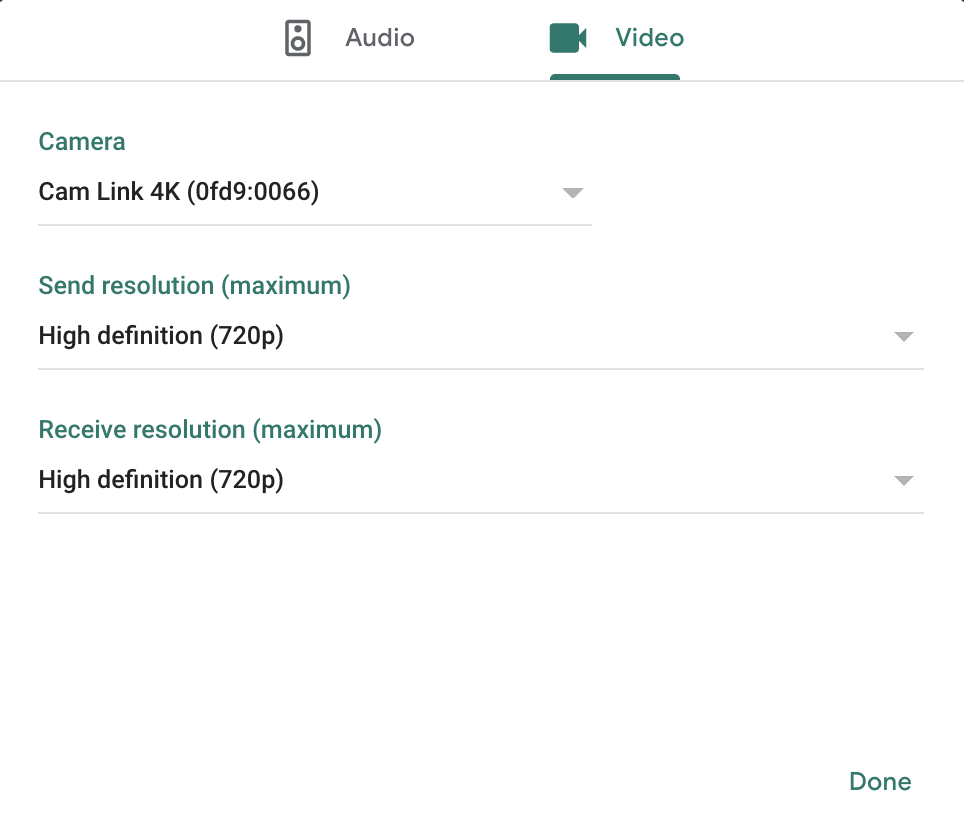
To change the camera source in Google Meet after joining a meeting:
- Click on the ⋮ button in the lower right corner of the window.
- Click on Settings.
- Click on the Video tab.
- Click on the current camera in the Camera area. For me the current camera was “LG UltraFine Display Camera” since I normally use its camera.
- Click on “Cam Link 4K” in the menu.
It’s OK if don’t see image in the preview area. You probably forgot to turn on your camera. I do this often.
Click Done and say “hi!” to everyone.
Zoom
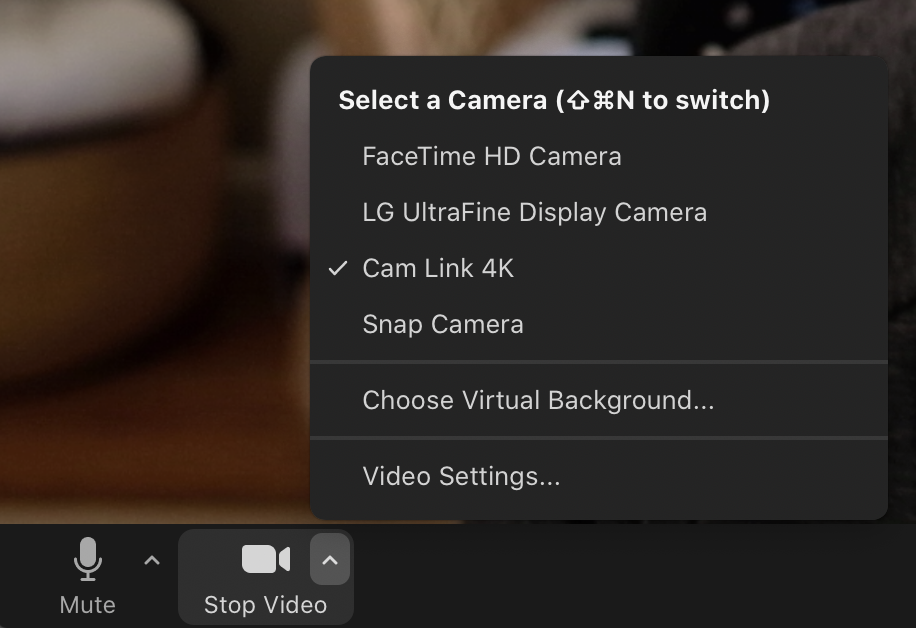
To change the camera source in Zoom after joining a meeting:
- Click on the little triangle inside the Start/Stop Video button.
- Select “Cam Link 4K” in the menu.
- Click on the little triangle again to close the menu.
Done. Now lead that meeting! Don’t be afraid to stick your neck out.
Camera Settings
There are a few settings I changed on the Fujifilm X-T2 to make this work. I also had to experiment a bit because one tutorial I read included incorrect information. I recommend searching for your camera plus the word “webcam” to see what settings you need to adjust.
- Set the camera to video mode as if you were going to record a video.
- Set aperture, shutter speed, and ISO to Auto.
- Menu ›
Connection Setting. Depending on your camera’s firmware you will either seePC Connection Mode,Connection Mode, orPC Shoot Mode. On the next screen select eitherUSB Tether Shooting AutoorUSB Auto. - Menu ›
AF/MF Setting›Pre-AFset toOn - Menu ›
AF/MF Setting›Face/Eye Detection Setting›Face Detection On - Menu ›
Connection Setting›USB Power Supply Settingset toOnif available. - Focus mode set to AF-S.
I definitely did not have all of this memorized. I had to search for my camera’s manual and look up a bunch of these options.
Bonus: Audio
The focus of this post is clearly video, but high quality audio can also make a difference during conference calls. Please do not overreact. I will not lead you into a cave of audiophilia. The Wirecutter recommends a Blue Yeti microphone, and, coincidentally, that is the microphone I have owned for years to record a podcast that I have yet to record. However, if I were to purchase a microphone today, I would look to the Yeti Nano since the Blue Yeti is a bit large. Perhaps avoid the AmazonBasics Microphone.
One can experiment with microphones, stands, and articulating arms similar to what is discussed above. I will save you time and just recommend a USB microphone to avoid relying on your computer’s built-in microphone. An external microphone is not only more sensitive, but it can be placed closer to your mouth.
After purchasing and connecting your microphone, select it using the Google Meet and Zoom instructions above. The difference obviously is to select audio options instead of video options.
I recommend reviewing your microphones manual to ensure it is configured to focus on sources that are directly in front of the microphone. For the Blue Yeti this is named “Cardioid” mode, and the knob’s icon looks like a heart.
Did this help? Share on Twitter and send me your setup.